How to brew specialty coffee with an AeroPress is a topic of interest for many coffee lovers looking to elevate their coffee-drinking experience.
With the rise of specialty coffee, AeroPress has become a popular choice for brewing a rich and flavorful cup.
The AeroPress is a compact, portable, and easy-to-use coffee maker that has taken the coffee world by storm.
In this article, we will explore how to brew specialty coffee with Aeropress, both the traditional and inverted methods for a rich and flavorful cup of coffee.
Table of Contents
What is an AeroPress?
Originally invented in 2005 by a man called Alan Adler, the AeroPress is a unique coffee maker that is compact, portable, and easy to use.
It uses a combination of air pressure and gentle water flow to brew a rich and flavorful cup of coffee.
The AeroPress consists of two cylinders, one for brewing and one for pressing, that fit together to form a seal.
The brewing cylinder is filled with coffee grounds, and hot water is poured over them to extract the flavour.
The resulting coffee is then pressed through a filter into a cup or carafe.
The AeroPress Go is a smaller and more travel-friendly version of the original AeroPress, and is designed to be more compact and lightweight, making it easy to take on the go.
Both AeroPress and Aeropress Go are known for their smooth and balanced flavour profile, making them a popular choice for brewing specialty coffee.
How Do You Make Specialty Coffee With An AeroPress?
There are actually two ways, but by following the steps below, you will be a pro in no time.
1. Heat up the Water
Boil some water, then wait 30 seconds or so, you want to avoid scorching your coffee.
The ideal water temperature would be between 180-200 degrees.
2. Grind the Coffee Beans
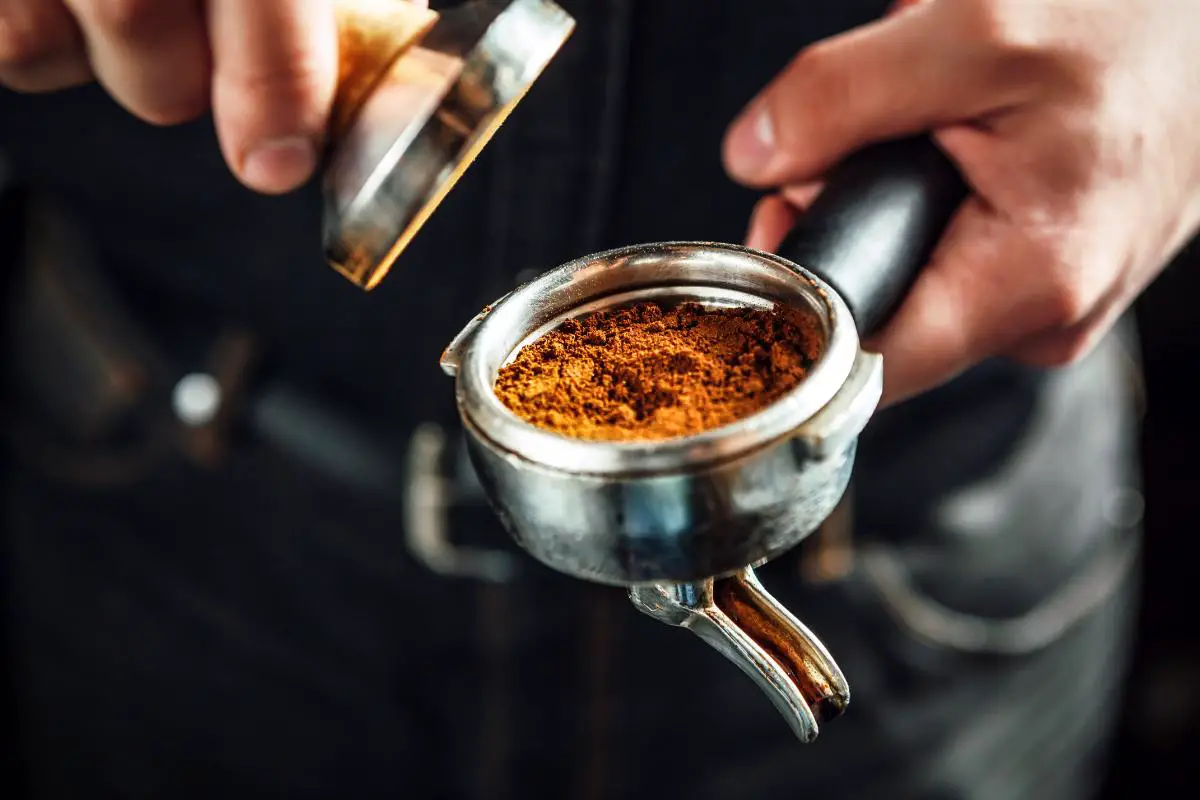
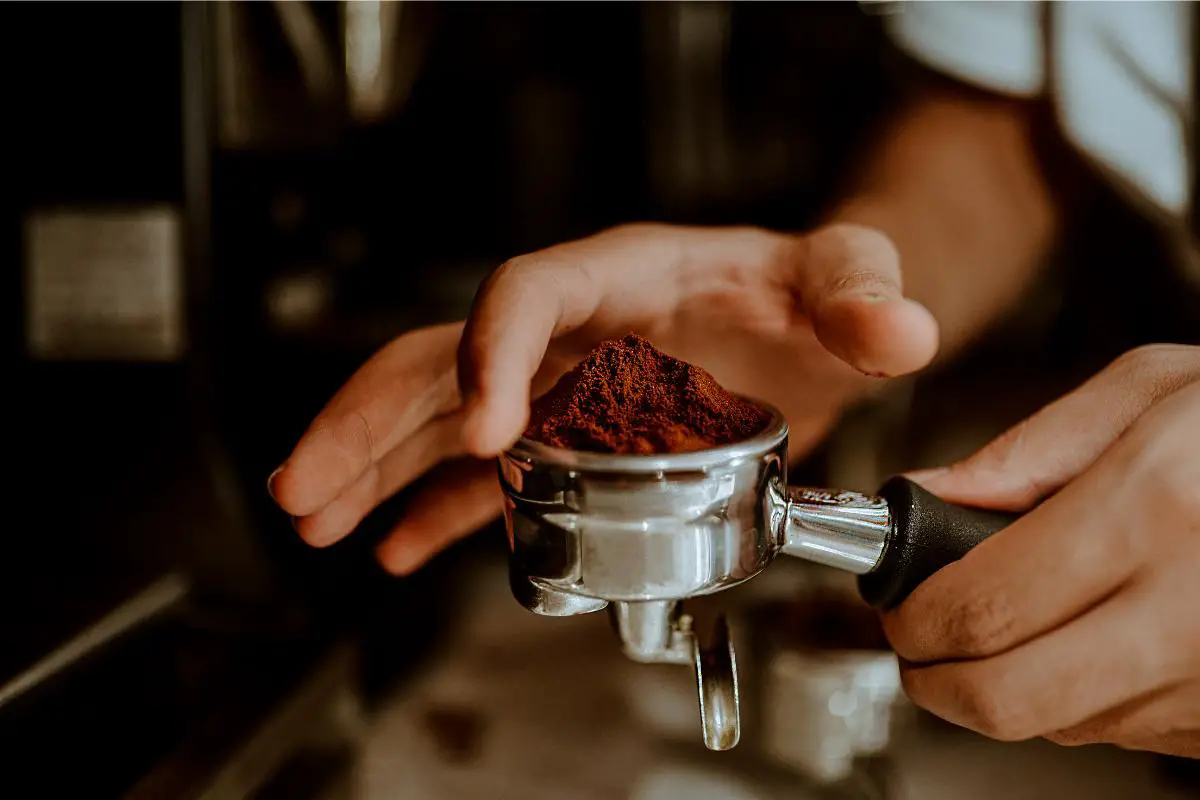
While your water is heating up, you will want to start grinding your beans.
It is recommended to grind your beans just before use, however, if time is not on your side, ensure you have a fine consistency of ground coffee, about 2 tablespoons.
3. Set up your AeroPress
Assemble an AeroPress paper filter, (or you can use the thin metal filters) inside the cap and place it on top of a cup or item you will be drinking from that can handle slight pressure when plunging.
if you are using paper filters, you will want to slightly wet these by adding a drizzle of water down.
4. Add the coffee
Pour in your ground coffee the same way you poured in the little bit of water to wet the filter, while still holding the AeroPress on top of the cup.
5. Pour in the water
Now your water is heated and at the perfect temperature, you can pour it into the AeroPress where it will meet with the ground coffee.
6. Stir and steep
Use the stirrer provided (or spoon), give it a quick stir, only once or twice, and let the water absorb all the good stuff from your ground coffee.
The longer you wait the stronger the brew, 30 seconds to a minute is generally the best amount of time.
7. Plunge
Insert the plunger and slowly press down with the weight of your hand to start the plunge, you will begin to hear a hiss.
Press until the plunger is gone down as far as it can go, this is when you remove the press
8. Enjoy
You can add water to reach your desired taste, or if you need to stretch out the brew to two servings.
However, for those who like a strong brew, then leave it as is.
The Inverted or ‘Upside Down’ Method
As mentioned there are actually two ways how to brew specialty coffee with an AeroPress.
Some would even argue that the inverted method is far better, as some believe this method will have more body and flavour.
However, it will come down to personal preference, and what you feel most comfortable with.
Basically, the subtitle says it all, you can follow the above steps, however, you will need to flip the AeroPress so that the filter and cap side is facing upwards, therefore, the plunger will now be at the bottom. May sound weird right? Stay with us.
Add your ground coffee and water into the AeroPress chamber, stir and steep, then place the filter and cap on, this is where you will carefully, but relatively quickly flip the full AeroPress over onto your drinking cup, and press the same way mentioned in step 7 above.
Congratulations, you now know how to brew specialty coffee with an Aeropress, both ways!
How To Clean An Aeropress?
Cleaning an AeroPress is a simple and straightforward process that can be done in just a few minutes. Here are the steps to follow:
- Disassemble the AeroPress: Remove the brewing cylinder from the pressing cylinder and take out the filter and used coffee grounds.
- Rinse the parts: Rinse the brewing cylinder, pressing cylinder, and filter under warm running water.
- Clean with soap: Use mild dish soap and warm water to wash the parts of the AeroPress. Scrub gently to remove any coffee residue.
- Rinse again: Rinse the parts thoroughly under warm running water to remove any soap residue.
- Dry the parts: Pat the parts dry with a clean cloth or allow them to air dry completely before reassembling.
- Store the AeroPress: Store the AeroPress in a clean and dry place, ready for use next time.
Regular cleaning also helps to maintain the quality of your coffee and prolong the life of your AeroPress.
Pros And Cons Of Using An Aeropress?
Pros
- Provides a quick coffee fix
- Maintains quality and flavour
- Easy to clean
- Dishwasher safe
- Inexpensive
- Environmentally friendly
- Portable and convenientent
Cons
- Limited capacity
- Filters required
- Learning curve
- Just don’t
Best Whole Bean Coffee For Aeropress
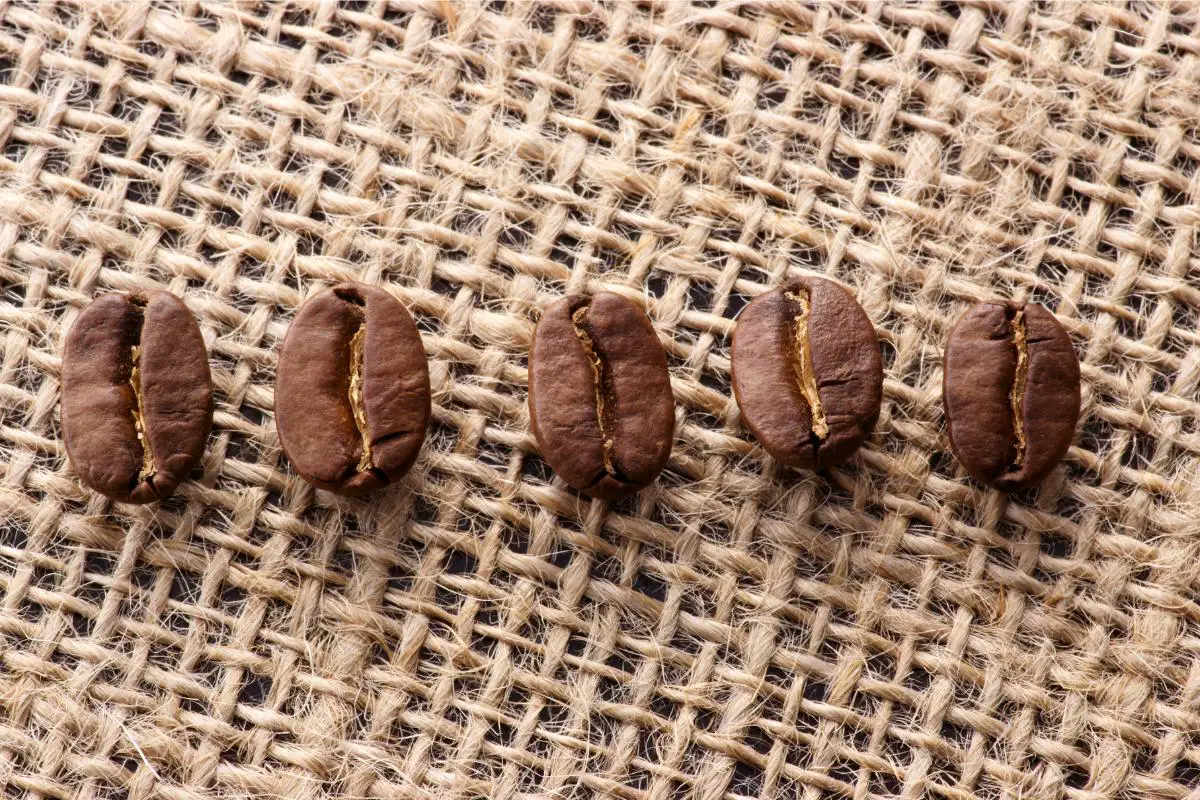
Specialty Coffee is the perfect type of coffee to use when brewing with an AeroPress, as it involves a single-origin bean which will generally be light to a medium roast.
Using a lighter roast will provide more structural integrity in the bean, thus helping prevent over-extraction, especially if you are brewing with the inverted method, as this a slightly more aggressive than your standard method.
The coffee we suggest below will ensure your brew results in a full-bodied cup, that still retains the complex and intricate notes of a perfect specialty coffee.
What is the Best Grind Size for an AeroPress?
There are Aeropress recipes for nearly every single type of coffee brew out there, but in order to get it right, and especially for those who are a beginner with this brewing method, you want to ensure your coffee grinds are not too fine, we like to have them to a similar coarseness to that as a french press brew.
However, if you are a little more advanced, try using a fine espresso grind, this will require more skill and patience, therefore a longer process, resulting in a richer brew due to more particle surface area.
Is it better to grind your own coffee?
To get the best consistency in the grind for your Aeropress and more importantly you as the consumer, we would 100% recommend hand grounding your own.
A good grinder will grind your specialty coffee into particles of uniform size.
This process also ensures your specialty coffee is fresh and at a high level of quality, which will bring out bolder flavours.
What Are Aeropress Filters Made Of?
The Aeropress filter is just a 2.5-inch, or 63.5mm diameter circle, made up of the same paper filter used in a cone filter, which you find with drip coffee makers.
A handy tip, if you already have cone filters, then you can even cut your own Aeropress filters from this.
There are both bleached and unbleached filters you can use, however, generally bleached filters are far more popular, and those using them find better success with their final brew, which is why we also recommend using bleached filters.
The paper filter mills now use a non-elemental chlorine bleaching process to eliminate producing dioxin as a by-product.
Can I Re-Use Aeropress Filters?
Some people reuse their filters dozens of times, therefore, yes you can actually reuse your Aeropress filters.
If you are wanting to do this, we recommend that after use, remove and rinse any of the coffee from the filter, place it back in the clean filter cap, and let it dry in the position to be reused.
When you do finally change the filter, the old one can be put into a compost bin, therefore, fully biodegradable.
What Are The Best AeroPress Filters To Use?
The metal vs paper filter debate is an interesting one, with no right or wrong answer.
Traditionally we like to use a paper filter, however, we would also like to recommend the metal filter version too as this may suit others better.
Hands down the best place to get your filters for your AeroPress and the best prices would be over on Amazon.
- High-quality AeroPress Coffee Maker Micro-Filters
- Genuine micro-filters for the AeroPress coffee maker
- Removes grit for a smoother cup of coffee
- The AeroPress method shortens brew time to 20 seconds or less
- This a fantastic replacement pack for your AeroPress.
Cafe Concetto Rose Gold Filter
- Engineered for elegance. Designed for brew performance and control.
- Suitable for the normal or inverted method.
- Use DISC FINE for a full-bodied coffee and DISC SUPERFINE for a sweeter, super smooth cup with increased clarity.
- Retain tasty oils that paper filters can remove.
- No more weak brews. No more paper-infused coffee
- Perfect for travel, work and outdoors.
- Reusable filter designed to be used with the AeroPress.
- Allows more oils and a fuller-bodied cup of coffee.
- Includes both the Disk FINE and STANDARD Coffee Filters.
- It is thinner (1/3 of the Standard) and should be handled with care as bending/damage is more likely.
- Very sweet clean cup of coffee with very few fines to none at all.
FAQs

A. No, the AeroPress is not designed for making cold brew coffee. It is suitable for brewing hot coffee using air pressure and gentle water flow.
A. The AeroPress is suitable for brewing a wide range of specialty coffee, including espresso, americanos, lattes, and cappuccinos.
A. No, the AeroPress is designed for brewing one or two cups of coffee at a time.
A. It typically takes around 2-3 minutes to make coffee with the AeroPress. This includes the time it takes to add the coffee grounds, hot water, and press the coffee.
Conclusion
The AeroPress has become a worldwide sensation, enjoyed but all types of coffee drinkers.
It combines speed with quality and is an ideal option for those that are looking for other methods to brew their morning coffee.
However, most frequently AeroPress is the key for many in making a good quality coffee with limited time, especially those who do not have the luxury of visiting their local barista every day.
If you enjoyed this article, read more like this by checking out our Specialty Coffee Buyers Guides.


